How to Use Gua Sha on Your Face: A Beginner's Step-by-Step Guide
How to use gua sha on your face: pick a jade gua sha or steel tool, find the best oil for gua sha, follow light strokes by zone, and clean it well.
In this article
- What Is Facial Gua Sha?
- Choosing Your Tool: Jade, Rose Quartz, or Stainless Steel
- The Best Oil for Gua Sha (and Simple Swaps)
- Before You Start: Prep and Posture
- How to Use Gua Sha: The Basic Stroke
- How to Use Gua Sha by Face Zone
- How Often and How Long
- Cleaning and Storing Your Tool
- What Research Says (and Does Not Say)
- Realistic Expectations
- Who Should Be Careful
- When to See a Doctor
- Common Mistakes Beginners Make
- How to Use Gua Sha FAQ
- Your Next Gentle Session
Learning how to use gua sha takes a few minutes, a smooth tool, and a light touch. This guide shows you how to use gua sha on your face safely, zone by zone, with clear steps and no hype. Many people enjoy the practice as a calm, screen-free ritual at the end of the day.
First, you learn how to choose a tool and pair it with a simple oil or moisturizer. Then you follow gentle strokes for each area of the face. Finally, you get cleaning habits and honest notes on what research does and does not show.
You also see who should skip the practice. After all, irritated skin, broken skin, and skin after a recent cosmetic procedure need extra care.
What you will get from this guide:
- A beginner-friendly explanation of facial gua sha.
- Tool choices compared, including jade gua sha and stainless steel.
- Simple oil pairing and patch test advice.
- Step-by-step strokes by face zone.
- Cleaning and storage habits for your tool.
- Safety notes and realistic expectations.
What Is Facial Gua Sha?
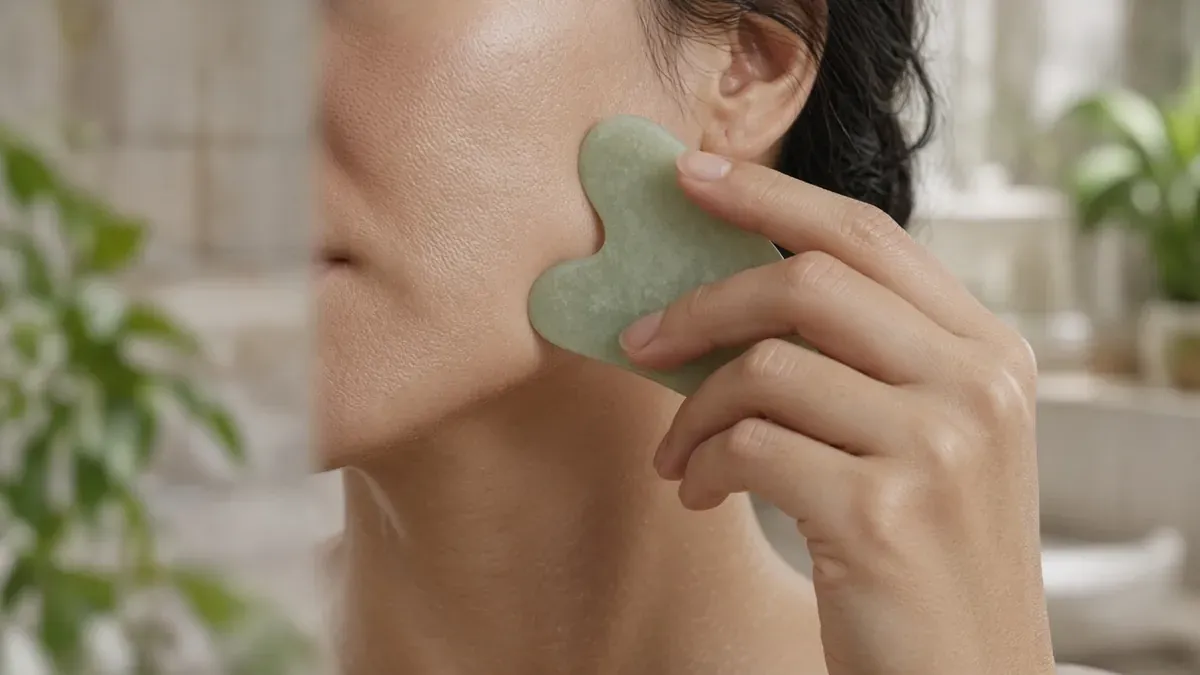
Facial gua sha uses a smooth, flat tool on oiled skin. Anyone learning how to use gua sha starts with that simple idea.
The tool usually has curved edges, notches, and a flat side. You glide it across the face in short, gentle passes. Because the skin has a layer of oil or moisturizer, the tool slides instead of dragging.
Facial gua sha differs from the firmer scraping some people use on the body. On the face, the goal is a soothing glide, not redness or marks. So when you learn how to use gua sha for the face, think "light and slow" every time.
Many people enjoy gua sha as a relaxing ritual. It gives you a few quiet minutes, and the cool tool often feels pleasant. Still, the practice is a self-care habit rather than a medical procedure.
Here is what a facial session usually involves:
- Clean skin.
- A thin layer of oil or moisturizer.
- A smooth, clean tool.
- Light, upward or outward strokes.
- A few minutes of unhurried time.
Choosing Your Tool: Jade, Rose Quartz, or Stainless Steel
Tools come in several materials. Before you learn how to use gua sha, pick one that feels right in your hand.
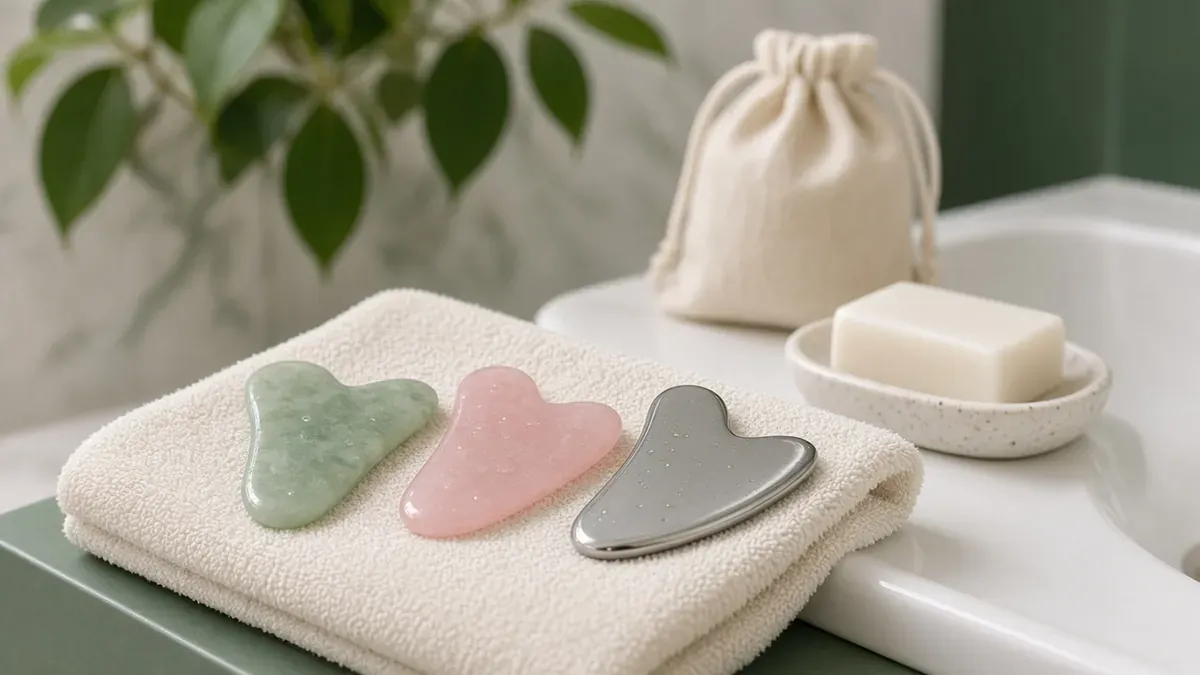
A jade gua sha tool feels smooth and cool at first touch. Rose quartz offers a similar feel and a pink color. Both are natural stones, so they can chip or crack if you drop them. Therefore, inspect stone tools often and stop using any tool with a rough edge.
Stainless steel tools feel cool and hold up well to drops. They also rinse clean easily. As a result, many beginners like steel for daily use.
| Material | Feel | Durability | Cleaning notes |
|---|---|---|---|
| Jade | Smooth, cool | Can chip if dropped | Mild soap, rinse, dry fully |
| Rose quartz | Smooth, cool | Can chip if dropped | Mild soap, rinse, dry fully |
| Stainless steel | Smooth, very cool | Resists chips | Mild soap, rinse, dry fully |
Meanwhile, shape matters as much as material. Look for smooth, rounded edges with no sharp points. A notched edge fits the jawline, while a long curved edge suits the cheeks.
No material changes results in a proven way. So pick the one that feels comfortable in your hand. A jade gua sha stone, a quartz stone, and a steel tool all follow the same steps.
The Best Oil for Gua Sha (and Simple Swaps)
Slip matters more than any special ingredient. Choose something gentle and familiar.
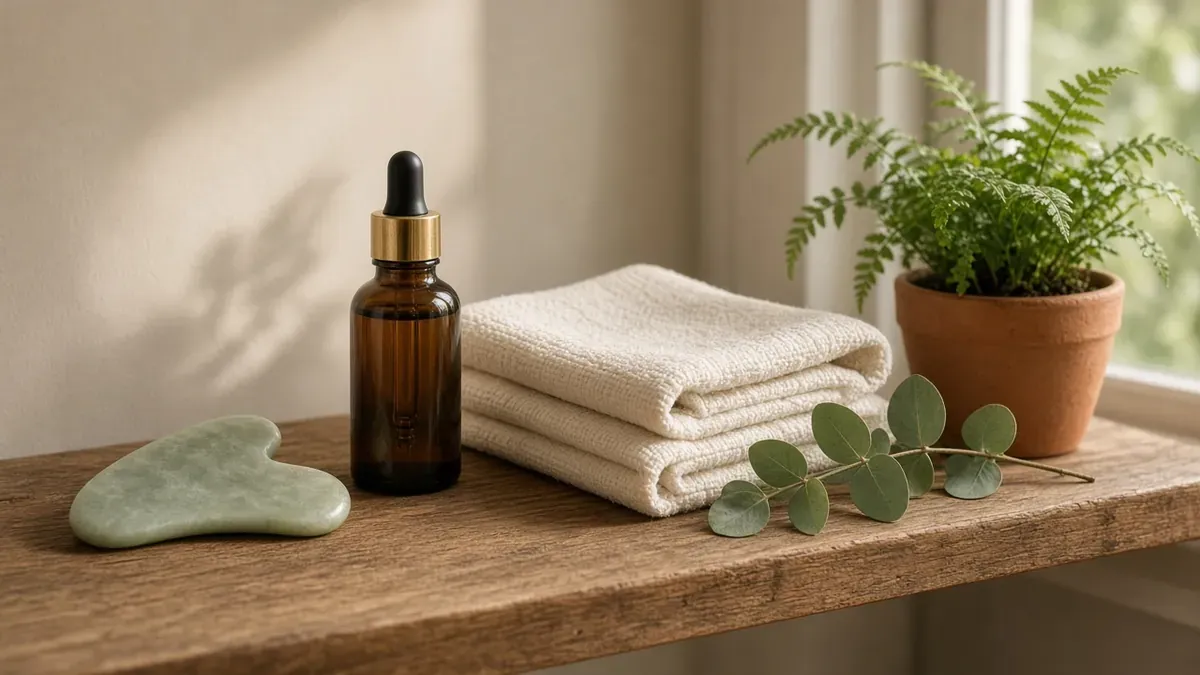
So what is the best oil for gua sha? In practice, it is a simple product your skin already tolerates. Many people use a plain plant oil such as jojoba or sunflower, a squalane product, or their usual moisturizer. The aim is a smooth glide, not a dramatic effect.
Skip heavily fragranced products, especially if your skin reacts easily. The American Academy of Dermatology's rosacea tips list fragrance among ingredients that can irritate sensitive skin. Also, choose products made for sensitive skin if you flush easily.
Before you use any new product, patch test it. The AAD's guide to testing skin care products recommends applying it to a quarter-sized spot, such as the underside of your arm, twice daily for seven to 10 days. If no redness, itching, or swelling appears, you can go ahead.
Quick oil checklist:
- Choose a product you already tolerate.
- Patch test anything new first.
- Use just enough for the tool to glide.
- Skip fragrance-heavy products on sensitive skin.
In short, the best oil for gua sha is the gentle one that suits your skin.
Before You Start: Prep and Posture
A calm setup makes each session easier. In fact, knowing how to use gua sha starts before the tool touches your skin.
Start with clean hands and a clean tool. Then wash your face with a gentle cleanser. The AAD suggests applying cleanser with your fingertips and patting your face dry with a clean towel. For more seasonal tips, read about caring for your skin barrier in fall.
Next, sit or stand in front of a mirror with good light. Relax your shoulders and keep your face soft. Tension makes it easy to press too hard.
Now apply your oil or moisturizer in a thin, even layer. Add a few drops more if the tool starts to drag. Dragging means you need more slip, not more pressure.
Hold the tool nearly flat against your skin, with the long edge leading. A low angle spreads the pressure. By contrast, a steep angle concentrates force on a narrow line.
Before your first full session, learn how to use gua sha on a small area such as the cheek. That way, you can check how your skin responds. If anything stings, stop and rinse.
How to Use Gua Sha: The Basic Stroke
Every zone uses the same core motion. Master it before moving on.
- Apply a thin layer of oil or moisturizer.
- Hold the tool nearly flat against the skin.
- Use light pressure, about as gentle as smoothing lotion.
- Glide in one direction, usually upward or outward.
- Lift the tool at the end of each stroke.
- Repeat a few times, then move to the next area.
Above all, light pressure is the rule. Facial skin is thin, and pressing hard can leave redness or marks. Therefore, if you see lasting redness, ease off immediately.
Also, keep each pass short and smooth. Avoid back-and-forth scrubbing. The AAD advises people with rosacea to avoid rubbing or scrubbing the face, and gentle habits suit most skin types anyway.
Once this stroke feels natural, you understand the heart of how to use gua sha. The zone steps below simply apply it to different areas.
How to Use Gua Sha by Face Zone
Work from the neck upward. Move slowly and keep pressure light.
Neck
Start at the side of the neck. Glide the tool gently in short, light strokes. Avoid the front of the throat. Keep pressure especially soft here.
Jawline
Place the notched edge along the jaw, starting near the chin. Then glide outward toward the ear. Repeat a few times on each side.
Cheeks
Use the long, curved edge. Glide from beside the nose outward toward the ear. Next, move slightly higher and repeat.
Under the Eyes
This skin is very delicate. So use the lightest touch, or skip this area entirely. If you include it, glide outward toward the temple once or twice.
Brows and Forehead
Glide from the center of the brow outward toward the temple. Then use upward strokes from the brows toward the hairline.
These five zones cover a full session. In total, many people spend only a few minutes. So learning how to use gua sha on each zone fits easily into a busy evening.
How Often and How Long
Short, gentle sessions work well for beginners. However, there is no proven ideal schedule.
Start with a few minutes, a few times a week. Then watch how your skin responds. If it stays calm, you can choose a rhythm that suits your routine.
Initially, shorter sessions tend to work better. Long sessions increase the chance of pressing too hard or irritating the skin. Likewise, repeated passes over the same spot can leave redness.
Evening sessions suit many people because they pair well with winding down. However, morning sessions work too. Ultimately, the right time is whenever you can move slowly. To set a calm mood, try this beginner candle making guide.
Signs to slow down:
- Redness that lingers after a session.
- Stinging, burning, or itching.
- New breakouts in the areas you work on.
- Any bruising.
Once you know how to use gua sha comfortably, consistency matters more than intensity. Gentle and regular beats hard and occasional.
Cleaning and Storing Your Tool
A clean tool protects your skin. So make cleaning part of how to use gua sha every single time.
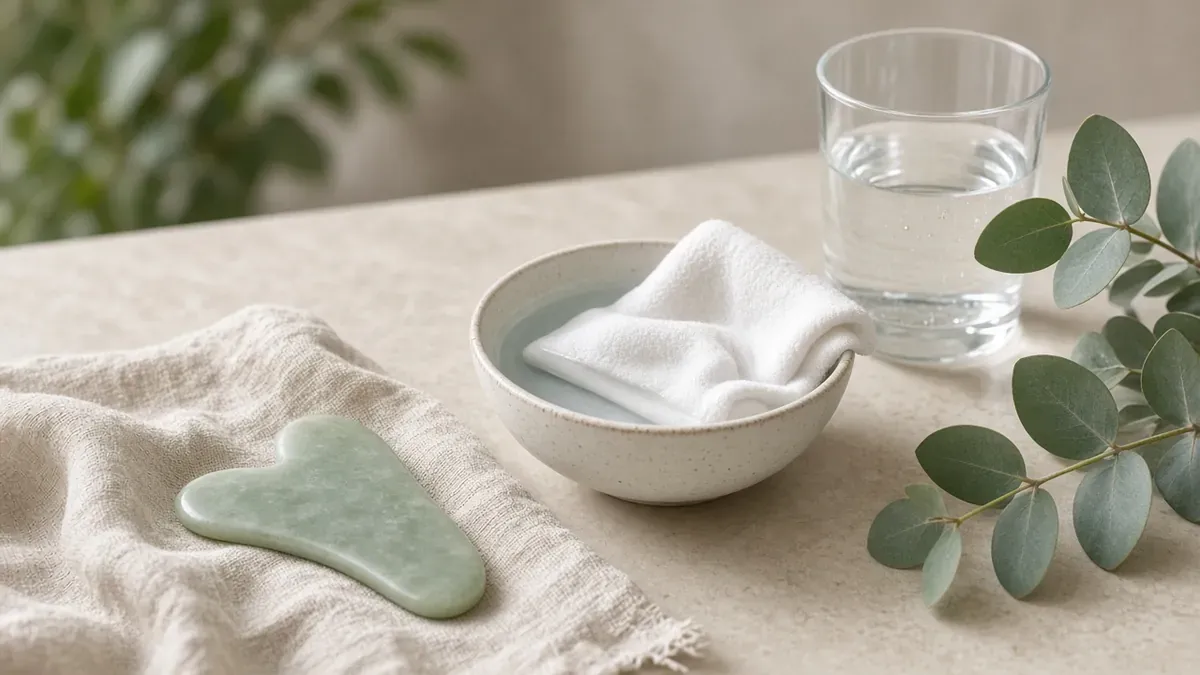
After each use, wash the tool with mild soap and warm water. Rinse it well to remove all residue. Then dry it completely with a clean towel.
Next, store the tool somewhere clean and dry, such as a pouch or a covered tray. Avoid the bathroom counter near splashes. In addition, keep stone tools away from hard surfaces where they could chip.
Also, never share your tool. Sharing moves oil and skin debris from one person to another. So give each person in your home their own tool.
Curious about other gentle skin care sprays? See this simple guide to hypochlorous acid spray.
Inspect your tool regularly, too. For example, run a fingertip along the edges to feel for chips or cracks. Retire any jade gua sha or quartz tool with a damaged edge, since rough spots can scratch skin.
Cleaning checklist:
- Wash with mild soap and water after every use.
- Rinse thoroughly.
- Dry completely before storing.
- Store in a clean, dry place.
- Never share tools.
What Research Says (and Does Not Say)
Research on facial gua sha remains limited. Keep expectations modest.
One small randomized trial on PubMed Central compared facial roller and gua sha massage in 34 women over eight weeks, without an untreated comparison group. The researchers used instruments to measure facial dimensions, muscle tone, and skin elasticity, and they reported changes in both groups.
However, the study had clear limits. It was small, and the authors themselves noted that eight weeks may not reflect long-term results. Moreover, the trial excluded people who had facial surgery or invasive cosmetic procedures in the previous 12 months, so the findings do not cover everyone.
So what can you fairly conclude? Some small studies have looked at facial gua sha, but evidence remains limited. Researchers would need larger, longer studies to say more.
For now, the honest benefit is the experience itself. Many people enjoy gua sha as a relaxing ritual and a moment of self-care. That reason alone can justify a gentle routine, as long as your skin stays comfortable.
Realistic Expectations
Gua sha is a ritual, not a guarantee. Set your goals accordingly.
Online posts often promise dramatic changes. In reality, the research above stays small and short-term. Therefore, think of gua sha as a pleasant habit that may feel soothing, rather than a fix for any skin concern.
Here is what you can reasonably expect:
- A few calm, screen-free minutes.
- A cool, smooth sensation on the skin.
- A reason to apply moisturizer carefully.
- A routine that feels good if your skin tolerates it.
Here is what no tool can promise:
- Permanent changes to your face.
- Results that replace advice from a dermatologist.
- The same experience for every person.
Also, remember that products and tools differ in rules. The FDA explains that cosmetic products and ingredients, other than color additives, do not need FDA approval before they reach the market. So read bold claims on oils and tools with care.
Learning how to use gua sha well means respecting your skin's signals. Comfort comes first.
Who Should Be Careful
Some skin needs a pause or a professional opinion first. Review these points before deciding how to use gua sha safely.
- Broken or irritated skin: Skip any area with cuts, scrapes, sunburn, or a rash. Let the skin settle first.
- Active acne: The AAD's acne skin care tips note that scrubbing with washcloths, sponges, and other tools can irritate skin. So avoid working over active breakouts.
- Rosacea flares: The AAD advises people with rosacea to avoid rubbing or scrubbing the face. Ask a dermatologist before using a tool on flare-prone skin.
- Recent cosmetic procedures or injectables: Ask the clinician who performed your procedure when, or whether, facial massage is appropriate.
- Blood thinners or easy bruising: MedlinePlus lists bleeding as the most common side effect of blood thinners and names unusual bruising as a sign to call your provider. Talk with your clinician before trying any facial tool.
- Sensitive skin or allergies: Patch test oils first, as the AAD recommends.
Also, never share tools, and skip sessions when your skin feels sore.
When to See a Doctor
Most gentle sessions cause no problems. Still, some signs need attention.
Contact a clinician or board-certified dermatologist if you notice:
- Redness that does not fade after a session.
- Bruising, especially if you take blood thinners.
- Broken skin, scratches, or open areas.
- Signs of possible infection, such as warmth, swelling, pain, or pus.
- Red, itchy, or swollen skin after a new oil, which the AAD links to allergic contact dermatitis.
- A flare of an existing skin condition.
The AAD advises washing off a product that causes a reaction and not using it again. It also says a severe reaction that does not improve with cool compresses may need a dermatologist's care.
Ask before you start, too. If you recently had a cosmetic procedure, live with a skin condition, or take blood thinners, check with your clinician first. Above all, stop any routine that hurts.
Common Mistakes Beginners Make
Most problems come from a few habits. Fortunately, each one has an easy fix.
- Pressing too hard. Light pressure is the core of how to use gua sha on the face.
- Skipping the oil. A dry tool drags. Instead, add a thin layer first.
- Scrubbing back and forth. Glide in one direction, then lift.
- Holding the tool too upright. Keep it nearly flat to spread pressure.
- Working over breakouts. Skip active acne and irritated patches.
- Using a chipped tool. Rough edges can scratch skin, so retire damaged tools.
- Sharing tools. Keep one tool per person.
- Skipping cleaning. Wash, rinse, and dry after every session.
Another common slip involves expectations. Many beginners expect quick, visible change. In reality, the research stays limited, so focus on comfort and calm instead.
Also, watch your skin over the next day. If redness lingers, change one habit at a time. For example, lighten pressure first, then shorten sessions. That way, you learn how to use gua sha in a way that suits your skin.
How to Use Gua Sha FAQ
Here are quick answers to common questions. Each one stays short.
How to use gua sha as a total beginner?
Use clean skin and a thin layer of oil. Then practice very light strokes on one cheek first.
Is a jade gua sha better than steel?
No material has proven results over another. Choose the one that feels comfortable and stays easy to clean.
What is the best oil for gua sha on sensitive skin?
Use a gentle product you already tolerate, and patch test anything new. Skip heavily fragranced products.
Should gua sha leave red marks on the face?
No. Facial gua sha should stay gentle. Ease off if you see lingering redness, and stop if you notice bruising.
Can you use gua sha with acne?
Avoid active breakouts. The AAD notes that tools can irritate acne-prone skin.
How do you clean a gua sha tool?
Wash it with mild soap and water, rinse, and dry it completely. Then store it somewhere clean and dry.
Your Next Gentle Session
Gua sha works best as a slow, simple habit. Keep it gentle and honest.
You now know how to use gua sha on each zone of the face, how to choose a tool, and how to keep it clean. You also know that research stays limited, so comfort and enjoyment remain the main reasons to try it.
Before your next session, run through this checklist:
- A clean, undamaged tool.
- A patch-tested oil or moisturizer.
- Clean skin and good light.
- Light pressure and slow strokes.
Finally, listen to your skin. If you see lasting redness, bruising, or irritation, stop and ask a dermatologist. With that care in place, knowing how to use gua sha simply adds a calm few minutes to your evening.
You may also like

Sea Buckthorn Oil: A Beginner Guide for Winter-Dry Skin
This sea buckthorn oil guide explains fruit vs seed oil, why it can tint skin orange, how to blend it into cream, storag…
Hypochlorous Acid Spray for Sensitive Skin: A Simple Routine Guide
Learn how to place a hypochlorous acid spray in a short AM/PM routine, read the label, and know when to stop and ask a c…
Fall Skin Barrier Reset When Indoor Heat Starts
Indoor heat dries skin fast. Use this autumn barrier reset for gentle cleansers, rich creams, humidifiers, and two-week…