How to Start an Organic Vegetable Garden (Even on a Balcony)
Everything you need to grow your first organic vegetables: sunlight, soil, easy crops and a simple weekly routine.
In this article
- Why Grow an Organic Vegetable Garden?
- Basic Tools You Really Need
- Step 1: Choose the Right Spot
- Step 2: Pick the Right Garden Style
- Step 3: Build Healthy, Living Soil
- Step 4: Choose Easy Crops for Beginners
- Step 5: Plan Your Planting Calendar
- Step 6: Use Companion Planting
- Step 7: Water the Smart Way
- Step 8: Control Pests Naturally
- Step 9: Harvest Often and Keep a Simple Routine
- Bonus: Save Your Own Seeds
- Invite Bees and Butterflies
- A Simple Seasonal Checklist
- Common Mistakes to Avoid
- Organic Vegetable Garden FAQ
- Final Thoughts
UPDATE posts SET title = 'How to Start an Organic Vegetable Garden: 9 Easy Steps (Even on a Balcony)', excerpt = 'A complete beginner guide to growing your own organic vegetables: the right spot, living soil, easy crops, companion planting and natural pest control.', meta_title = 'Organic Vegetable Garden: 9 Easy Steps for Beginners', meta_description = 'Start your own organic vegetable garden with this easy 9-step guide: best spot, living soil, easy crops, natural pest control and a simple weekly routine.', focus_keyword = 'organic vegetable garden, balcony vegetable garden, companion planting, homemade compost', featured_alt = 'Raised beds with lettuce and tomatoes in a sunny organic vegetable garden', content = '
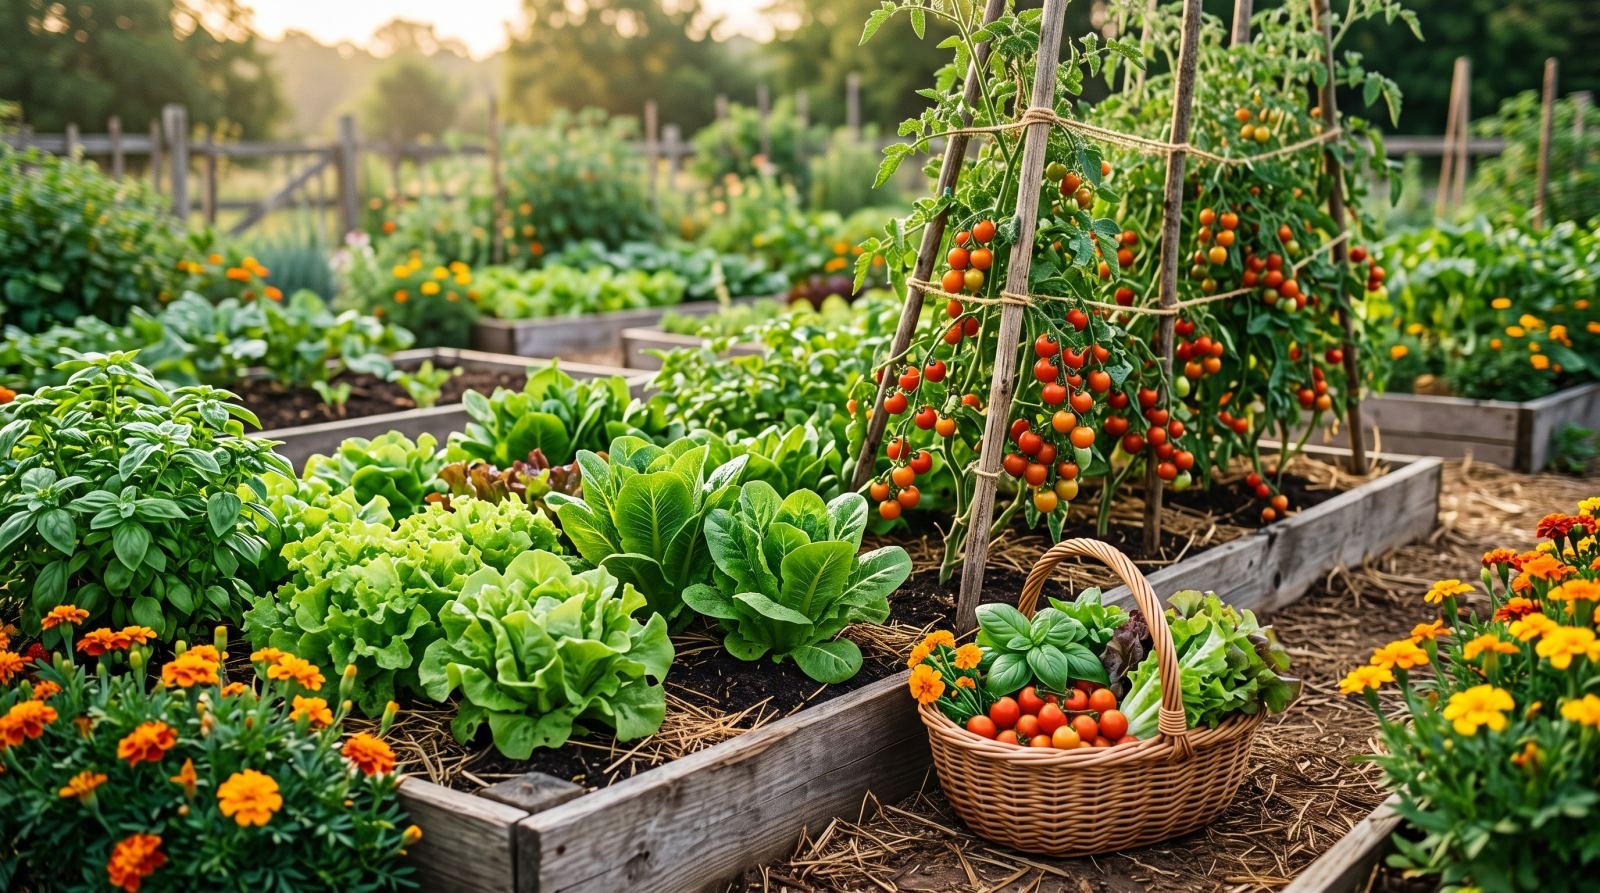
Starting an organic vegetable garden is one of the best things you can do for your health, your wallet and the planet. You do not need a big yard or costly tools. In fact, a sunny corner, living soil and a little patience are enough to get started.
This guide walks you through nine easy steps. First, you will find the right spot. Then you will build rich soil, pick easy crops and learn simple tricks to keep pests away without chemicals. By the end, you will know exactly what to plant this weekend.
Why Grow an Organic Vegetable Garden?
Store vegetables often travel for days before they reach your plate. So they lose flavor and nutrients on the way. When you grow your own food, you pick it at its peak and eat it the same day.
A natural garden also skips synthetic pesticides and chemical fertilizers. Instead, it works with nature. Healthy soil feeds healthy plants, and healthy plants fight disease on their own.
Here are the main benefits:
- Fresher food with more taste and more vitamins.
- Lower grocery bills, especially for herbs, salad greens and tomatoes.
- No chemical residues on the food your family eats.
- Gentle daily exercise and less stress.
- A home for bees, butterflies and other helpful insects.
Best of all, gardening teaches patience. You learn to slow down and follow the rhythm of the seasons.
Basic Tools You Really Need
Garden centers love to sell gadgets. But a beginner needs only a few simple tools. Buy good quality, and they will last for years.
- A hand trowel for planting seedlings and bulbs.
- A garden fork to loosen soil without flipping it.
- A watering can with a fine rose for gentle watering of seeds.
- A hose with a soft spray nozzle for deep watering.
- Pruning shears for harvesting and cutting back plants.
- Gloves to protect your hands from thorns and blisters.
- A notebook to write down what you plant, when and where.
That notebook may be your most useful tool. Over time, it shows you what works in your own garden. As a result, each season gets easier than the last.
Step 1: Choose the Right Spot
Sunlight comes first. Most vegetables need at least six hours of direct sun each day. Fruiting crops such as tomatoes, peppers and squash love even more. Leafy greens, however, can grow well with four hours.
So before you dig, watch your space for one full day. Note where the sun falls in the morning, at noon and in the late afternoon. Then choose the brightest area.
Also think about these points:
- Water access. Pick a spot close to a tap, because you will water often in summer.
- Wind. Strong wind dries out soil and breaks young stems. A fence or hedge can help.
- Drainage. Avoid low areas where water sits after rain.
- Distance. Keep the garden near your door. You will visit it more, and you will spot problems sooner.
Step 2: Pick the Right Garden Style
Your space decides the style of your garden. Luckily, every option can work well. Here are the three most common choices.
Raised Beds
Raised beds are simple wooden or metal frames full of good soil. They warm up faster in spring and drain well after rain. They also keep your back happy, because you bend less. A bed 1.2 meters wide lets you reach the center from both sides.
In-Ground Beds
If you have a yard with decent soil, you can plant straight into the ground. First, remove grass and weeds. Then loosen the soil and mix in plenty of compost. This option costs the least, but it takes more work in the first year.
Containers and a Balcony Vegetable Garden
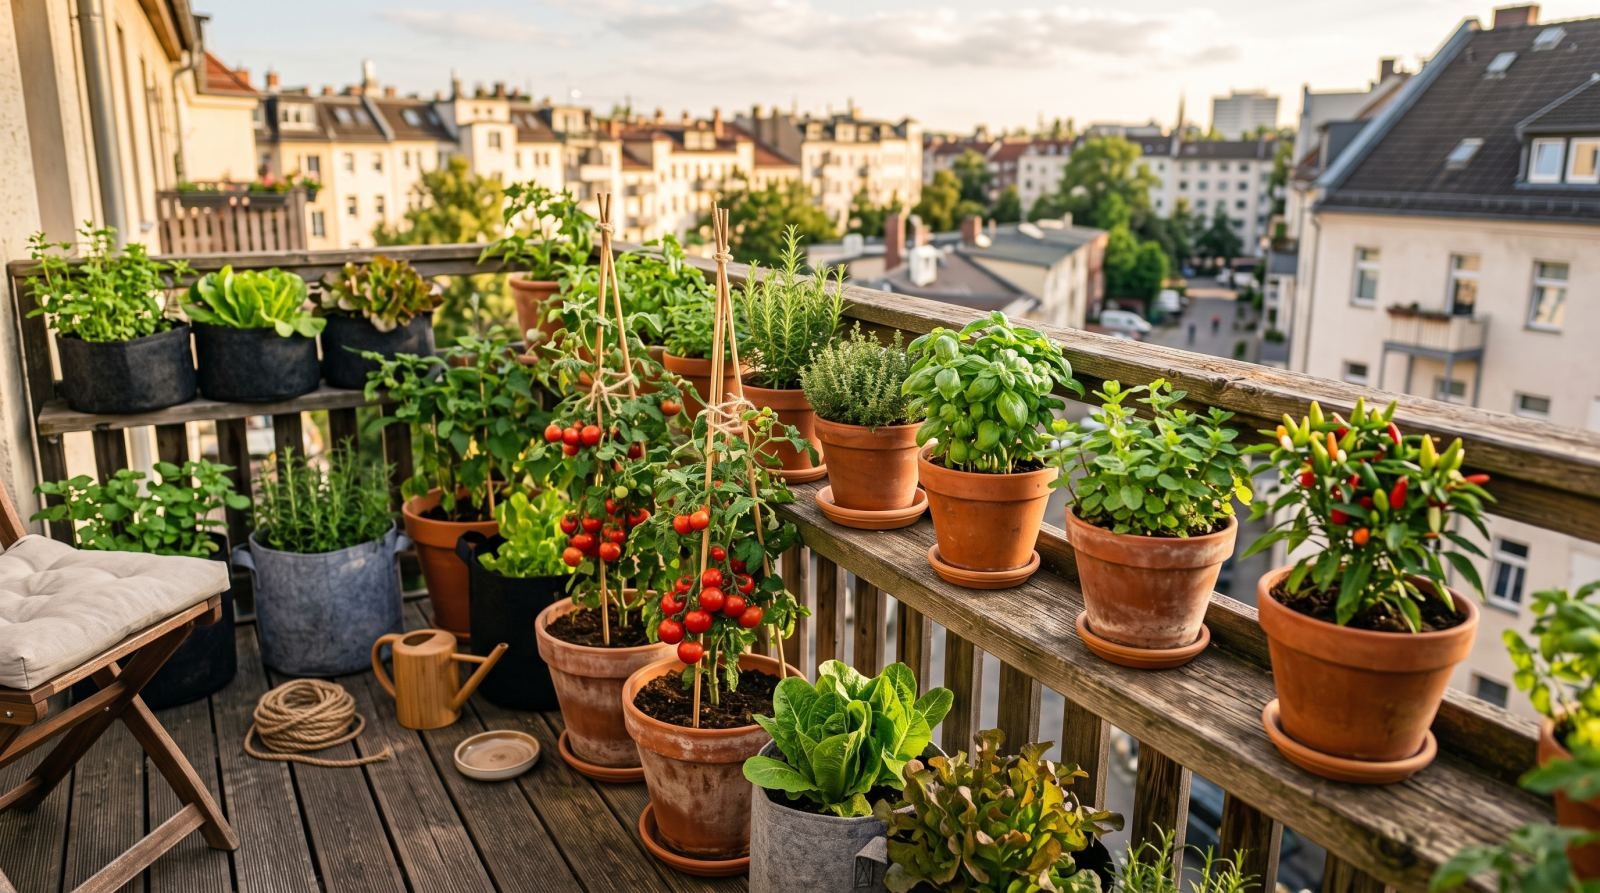
No yard? No problem. A balcony vegetable garden can feed you more than you think. Use pots at least 30 cm deep, with holes in the bottom. Next, choose compact varieties such as cherry tomatoes, bush beans, peppers, lettuce and herbs.
Containers dry out fast, so water them daily in hot weather. Also group them together. This way, they shade each other and keep the roots cool.
Step 3: Build Healthy, Living Soil
Soil is the heart of every organic vegetable garden. Healthy soil is full of life. It holds worms, fungi and billions of tiny microbes. Together, they turn dead leaves into food for your plants.
So how do you build great soil? Follow these simple rules:
- Add 5 to 8 cm of compost to your beds every spring.
- Never leave soil bare. Cover it with straw, dry leaves or wood chips.
- Do not dig too deep or too often, because digging harms soil life.
- Skip chemical fertilizers. Instead, use compost, worm castings or aged manure.
If you buy bagged soil or fertilizer, check the package with care. Our guide on how to read organic labels shows you which logos you can trust.
Make Homemade Compost
Homemade compost is free, easy and full of nutrients. Start with a simple bin or a pile in a shady corner. Then mix two kinds of material:
- Greens: fruit and vegetable scraps, coffee grounds and fresh grass clippings.
- Browns: dry leaves, straw, torn cardboard and paper.
Aim for about three parts browns to one part greens. Keep the pile as damp as a wrung-out sponge, and turn it every two weeks. After three to six months, you will have dark, crumbly compost that smells like a forest floor.
Step 4: Choose Easy Crops for Beginners
Start small and choose forgiving plants. Quick wins keep you motivated.
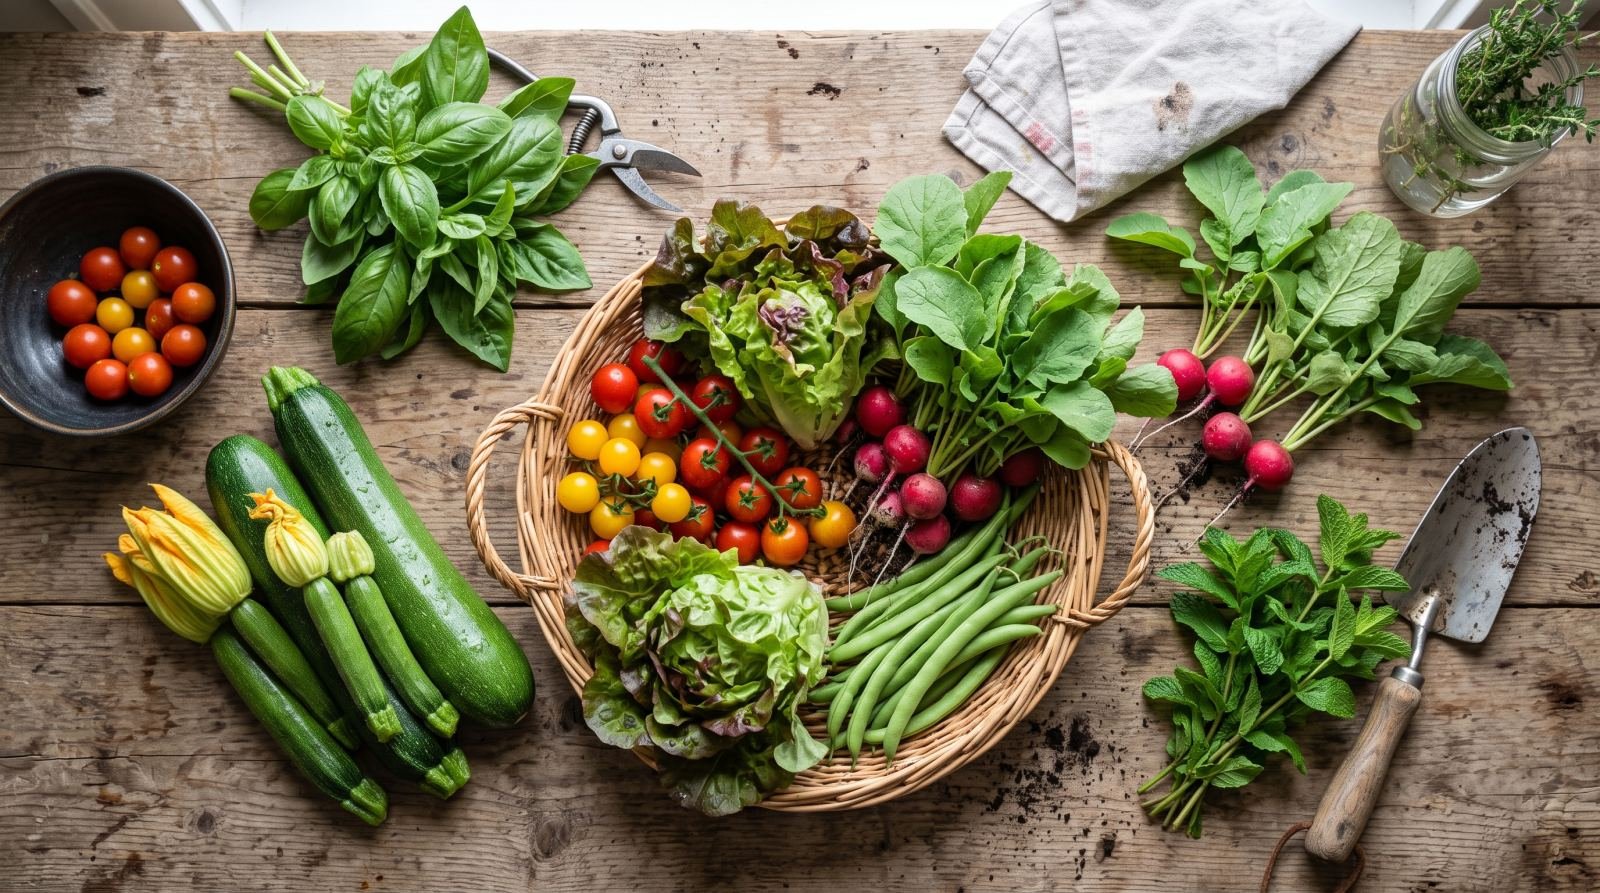
| Crop | Sun | Days to harvest | Beginner tip |
|---|---|---|---|
| Radishes | Full sun | 25 to 30 | Sow a short row every two weeks. |
| Lettuce | Part sun | 30 to 45 | Pick the outer leaves and let it grow back. |
| Bush beans | Full sun | 50 to 60 | Sow them after the last frost. |
| Zucchini | Full sun | 45 to 55 | One or two plants feed a whole family. |
| Cherry tomatoes | Full sun | 60 to 70 | Give them a strong stake or cage. |
| Basil and mint | Sun or part sun | 30 to 40 | Grow mint in a pot, because it spreads fast. |
In the first year of your organic vegetable garden, pick four to six crops you love to eat. There is no point in growing kale if nobody at home likes it. Also buy a few young plants from a local nursery. Seedlings give you a head start, especially for tomatoes and peppers.
Step 5: Plan Your Planting Calendar
Timing matters as much as soil. Every crop has its favorite season. Cool season crops such as lettuce, peas, spinach and radishes love spring and autumn. Warm season crops such as tomatoes, beans, squash and basil need warm soil and no frost.
First, find the date of the last spring frost in your area. Then plan your sowing around it. The Old Farmer''s Almanac offers free frost dates and planting calendars for many regions.
Next, try succession planting. Instead of sowing all your lettuce at once, sow a small row every two weeks. That way, you harvest a steady supply instead of fifty heads in one week.
Step 6: Use Companion Planting
Companion planting means growing plants side by side so they help each other. Some plants keep pests away. Others attract helpful insects or share space well. It is an old trick, and it fits an organic vegetable garden perfectly.
Here are some classic pairs to try:
- Tomatoes and basil. Basil may help keep some pests away, and the two taste great together.
- Carrots and onions. The strong smell of onions can confuse carrot flies.
- Beans and corn. Beans add nitrogen to the soil, while corn gives them a natural pole.
- Marigolds and almost everything. Their bright flowers draw bees and hoverflies.
However, some plants do not get along. For example, keep fennel away from most vegetables, and do not plant beans right next to onions.
Step 7: Water the Smart Way
Most beginners water too little, too often. Light daily sprinkles only wet the surface. As a result, roots stay shallow and weak.
Instead, water deeply two or three times a week. Aim the water at the base of each plant, not on the leaves. Wet leaves invite fungal diseases, especially on tomatoes and squash.
Water early in the morning. The soil stays cool, and less water evaporates. Also, a layer of mulch can cut your watering needs by half. If you have the budget, a simple drip hose saves time and water.
Not sure if your plants need water? Push a finger into the soil. If it feels dry 5 cm down, it is time to water.
Step 8: Control Pests Naturally
Every garden has pests. The goal is not to kill every bug but to keep a healthy balance. In an organic vegetable garden, nature does much of the work for you.
Try these natural methods first:
- Check your plants often. Catching problems early makes them easy to fix.
- Pick pests by hand. Caterpillars, slugs and beetles are easy to remove in the evening.
- Invite helpers. Ladybugs, lacewings and birds eat thousands of pests. Flowers and a small water dish bring them in.
- Use a strong spray of water. It knocks aphids off stems in seconds.
- Cover young plants. A light fabric net keeps flying insects away.
If you still need help, try a gentle homemade spray. Mix one teaspoon of mild liquid soap in one liter of water, then spray aphids directly. Test it on a few leaves first, and always spray in the evening.
Step 9: Harvest Often and Keep a Simple Routine
Harvesting is the best part, so do it often. Many plants, such as beans, zucchini and herbs, produce more when you pick them often. Also pick in the morning, when vegetables are crisp and full of water.
A short routine keeps your garden healthy without taking over your life:
- Every day: take a five minute walk, check for pests and harvest what is ready.
- Twice a week: water deeply and pull small weeds.
- Every two weeks: add fresh mulch and sow a new row of quick crops.
- Every month: feed hungry plants with compost or a little compost tea.
Then enjoy the rewards in the kitchen. Fresh tomatoes, herbs and greens turn simple meals into something special. For ideas, see our list of healthy breakfast ideas made with whole foods.
Bonus: Save Your Own Seeds
Once your garden grows well, try saving seeds. It is free, fun and very rewarding. Also, seeds from your own plants slowly adapt to your local climate.
Start with easy crops. Beans, peas, lettuce and tomatoes are perfect for beginners, because they mostly pollinate themselves. For beans and peas, let a few pods dry on the plant, then shell them. For tomatoes, scoop the seeds into a jar with a little water. Let them sit for three days, then rinse them and dry them on a plate.
Store your seeds in paper envelopes in a cool, dry and dark place. Write the name and the year on each one. Most seeds stay good for two to four years.
Invite Bees and Butterflies
Many vegetables need insects to make fruit. Zucchini, squash, cucumbers and beans all depend on bees. So a garden full of pollinators gives you bigger harvests.
Plant a few flowers between your crops. Calendula, borage, cosmos and sunflowers are easy to grow and look lovely. Herbs such as thyme, oregano and lavender also draw bees when they bloom. In addition, leave a small corner a little wild, with long grass and a pile of sticks. Wild bees and beetles love to shelter there.
Finally, never spray anything on open flowers, even natural products. Bees visit in the daytime, so if you must spray, do it late in the evening.
A Simple Seasonal Checklist
Each season brings its own jobs. Use this list as a gentle guide, and adjust it to your climate.
Spring
First, clear old plants and weeds. Next, spread fresh compost over your beds. Then sow peas, radishes, spinach and lettuce as soon as the soil feels workable. Wait until after the last frost for tomatoes, beans and squash.
Summer
Summer is busy but fun. Water deeply, add mulch and tie tall plants to their stakes. Also harvest every day or two. If a bed empties early, sow quick crops such as bush beans or radishes in its place.
Autumn
As the days get shorter, pick the last tomatoes and peppers. Then plant garlic for next year. Instead of leaving beds bare, sow a green manure such as clover or winter rye. It protects the soil and feeds it at the same time.
Winter
Winter is the season to rest and plan. Read your garden notebook, order seeds and clean your tools. Also turn your compost pile on mild days, so it is ready for spring.
Common Mistakes to Avoid
Even skilled gardeners make mistakes. Still, you can skip the most common ones:
- Starting too big. A small, tidy bed beats a large, messy one. Begin with 2 to 4 square meters.
- Planting too close. Crowded plants fight for light and catch diseases. Follow the spacing on the seed packet.
- Ignoring the soil. Poor soil means poor harvests, so feed it every year.
- Planting too early. One late frost can kill tender seedlings. Wait for warm soil.
- Giving up after one bad season. Every season teaches you something new. Keep notes and try again.
Organic Vegetable Garden FAQ
How much space do I need to start?
You can start with a single pot. However, a bed of about 2 by 1 meters is a great first step. It can grow salad greens, herbs, a few tomato plants and beans for a family of two.
When is the best time to start an organic vegetable garden?
Spring is the classic time, once the risk of frost has passed. Still, you can start in autumn too. Plant garlic, spinach and hardy greens, and build your soil for the next spring.
Can I grow vegetables organically on a balcony?
Yes. Choose large pots, organic potting mix and compact varieties. Then feed your plants with liquid compost every two weeks, because pots lose nutrients fast.
Do I need to buy organic seeds?
It helps, but it is not a must. Organic seeds come from plants grown without synthetic chemicals, so they suit an organic vegetable garden well. At the very least, avoid seeds with a chemical coating.
How long until my first harvest?
Radishes and baby salad leaves can be ready in about four weeks. Beans and zucchini take around two months. Tomatoes need the longest, usually two to three months after planting.
Final Thoughts
An organic vegetable garden does not need to be perfect. It needs sun, living soil and a little care each day. So start small this season. Choose a few crops you love, feed your soil and watch what happens.
Soon you will taste the difference. And you will feel it too, in your body, your mood and your bond with nature. For more calm time outdoors, read our guide to forest bathing for beginners.
For deeper research on plant care, the Royal Horticultural Society is also a trusted source. Happy gardening!
' WHERE slug = 'start-organic-vegetable-garden';
You may also like
Clover Lawn: How to Overseed in Fall for a Low-Mow Yard
This clover lawn guide covers fall overseeding timing, microclover vs white clover, six planting steps, watering, mowing…
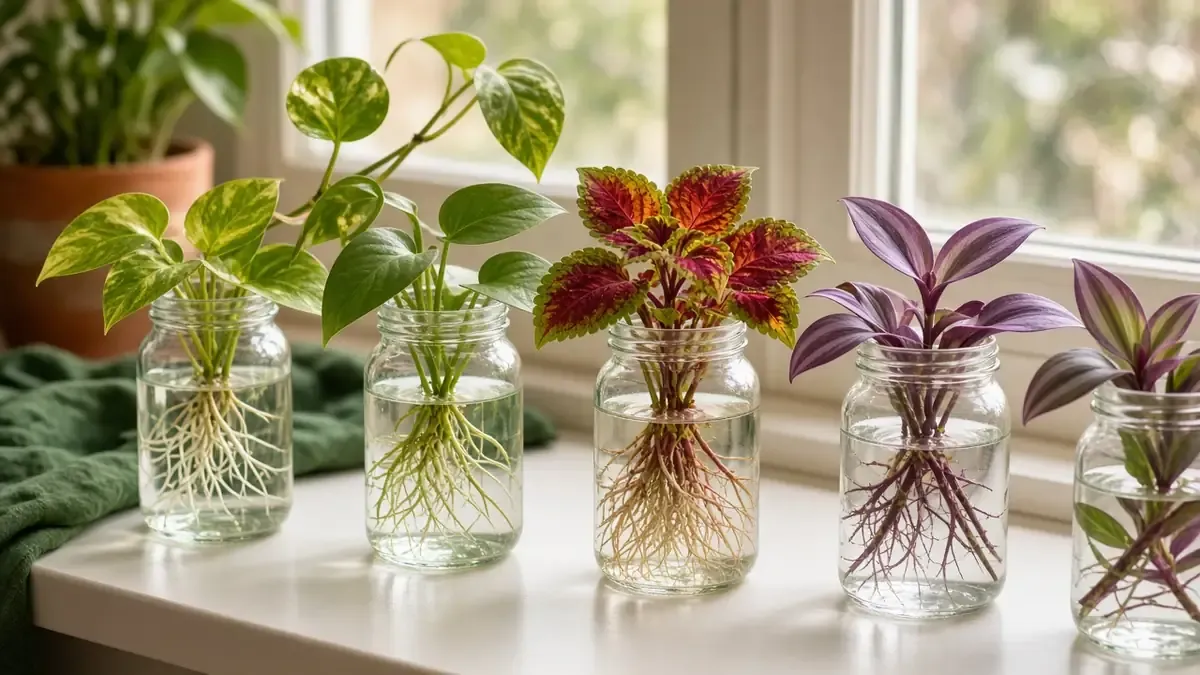
Plant Propagation for Beginners: 8 Easy Houseplants From Cuttings
New to plant propagation? Learn water and soil rooting, eight easy houseplants to grow from cuttings, an indoor fall set…
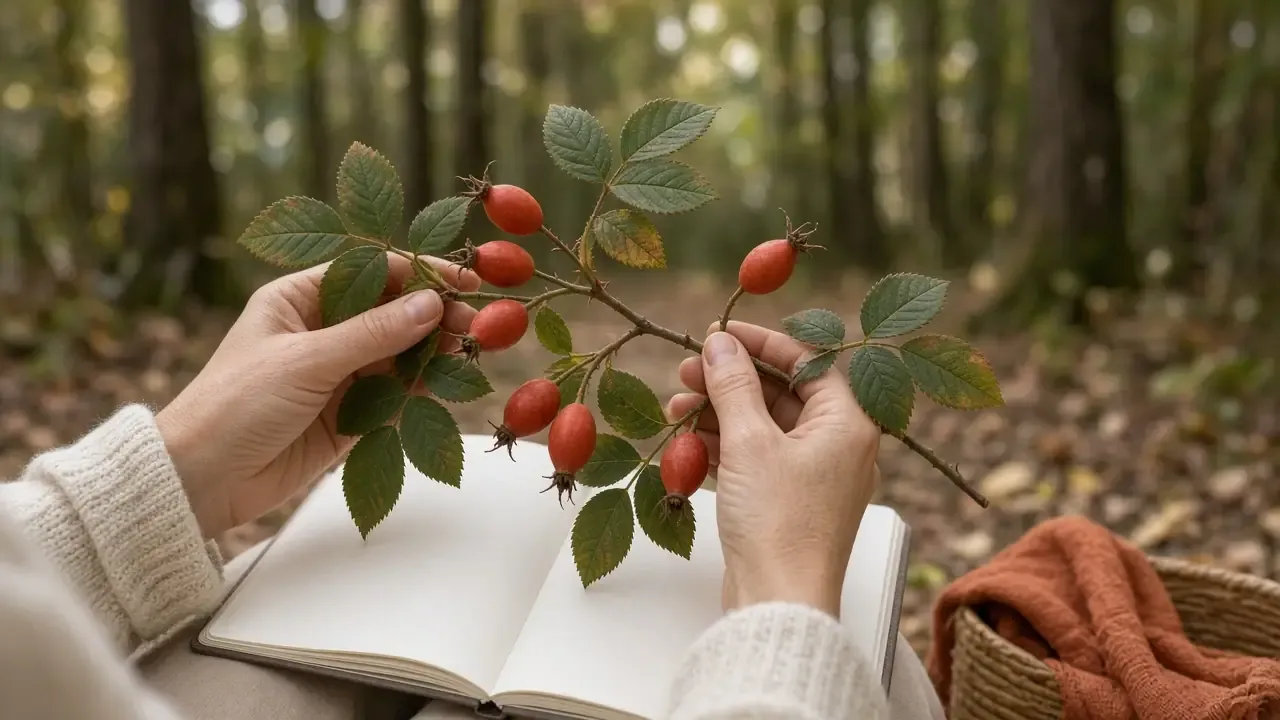
Fall Foraging for Beginners: Wild Plant IDs, Ethics & October
A beginner fall foraging guide: build field guides, learn edible wild plants, spot poisonous berries, follow land rules,…