How to Make Beeswax Wraps: Beginner Fall Batch
A weekend tray of cotton squares can cover cooled bread, cheese, and bowls. Save the mix that grips, then wash only with cool water and mild soap.
In this article
- Why Fall Calls for a Wrap Batch
- What You Can Cover and What You Cannot
- Supplies Before You Learn How to Make Beeswax Wraps
- A Starter Beeswax Wraps Recipe in Grams
- Wash, Dry, and Cut the Cotton
- How to Make Beeswax Wraps in the Oven
- Press With an Iron Instead
- Cool, Trim, and Check the Tack
- How to Clean Beeswax Wraps After Meals
- Troubleshoot Stiff, Greasy, or Patchy Wraps
- Re-Wax, Store, and Retire on Purpose
- Size a Fall Harvest Wrap Set
- Run Next Month From This First Batch
- How to Make Beeswax Wraps FAQ
How to make beeswax wraps belongs on the fall counter before leftovers pile up. Apples, bread, cheese, and cooled bowls need a cover you can rinse. Plastic wrap clings once, then goes in the trash. A cotton square with a wax coat can cover those same foods for months.
You do not need a studio or a perfect first tray. You need tight-weave cotton, beeswax, and low heat. Test one square before you coat a whole stack. Then you will learn how to make beeswax wraps in one small batch.
Skip miracle talk. These wraps will not erase plastic from your whole kitchen. They cover cool, dry foods well when you wash them right and refresh the coat. Still, hot soup and raw meat need other containers.
What you will get from this guide:
- A starter beeswax wraps recipe in grams you can scale.
- Oven steps plus a short iron-method note.
- A simple routine for how to clean beeswax wraps.
- Fixes for stiff, greasy, cracked, or patchy cloth.
- Sizes for bowls, sandwiches, and cheese wedges.
- Straight limits on raw meat, heat, and lifespan.
Why Fall Calls for a Wrap Batch
Harvest weeks pile food on the counter.
You slice apples for lunches and still find a bowl at night. A weekend loaf dries out when the cut face sits open. A cheese wedge hardens on the board. Then cooled squash and roasted vegetables need a cover, not a fresh plastic sheet.
Also, a fall batch fits that rhythm better than a random craft day. You make a set once, then grab the right size all month. Small squares take cheese and apple slices. Medium squares take sandwiches, and large squares top bowls after the food cools.
Fall gives you real foods to test the tack the same week. You see fast whether a wrap grips a bowl or slides off. This week, learn how to make beeswax wraps you will actually use.
What You Can Cover and What You Cannot
Use wraps on cool, dry foods only.
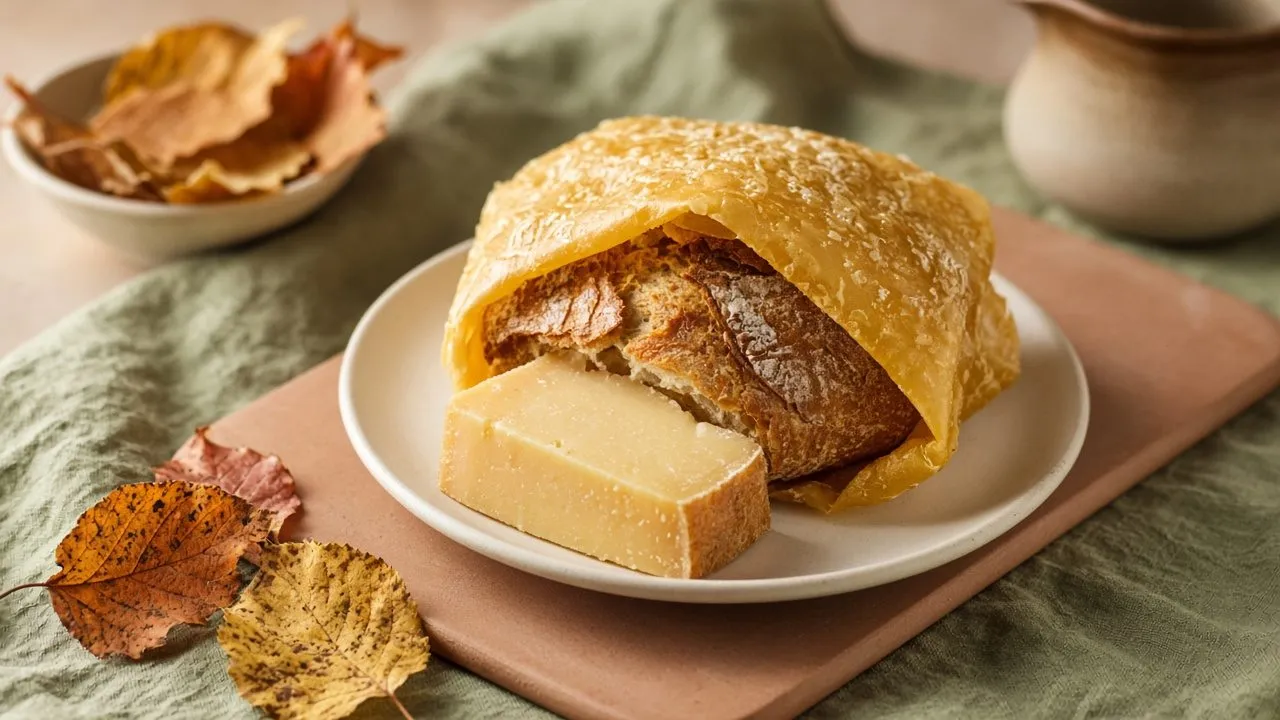
Bread, cheese, sandwiches, cookies, carrots, and cut apples all sit well in a wrap. A large square can cover a bowl of cooled salad, beans, or roasted vegetables.
Some jobs stay off the cloth. Do not wrap raw meat, raw poultry, or raw fish. Do not cap hot soup or any food that still steams. Heat pulls wax into the meal, so raw meat needs a box you can wash.
Wet foods cause trouble too. A cut melon or a saucy leftover will soak the fibers and turn sour. Then move those foods into a jar or a box with a real lid. Also, let the wrap handle the dry, cool stuff on the counter.
Know the limits before you practice how to make beeswax wraps for lunch boxes. Next, name the food, then pick the cover.
Keep these foods off the cloth:
- Raw meat, poultry, and fish.
- Hot soup and steaming leftovers.
- Anything you plan to reheat in the wrap.
Also, cooled jars from our simple guide to fall ferments still need a real lid. A wax cloth cannot hold brine. So keep ferment crocks sealed, and use wraps on the dry extras beside them.
Supplies Before You Learn How to Make Beeswax Wraps
Set every tool out before heat.
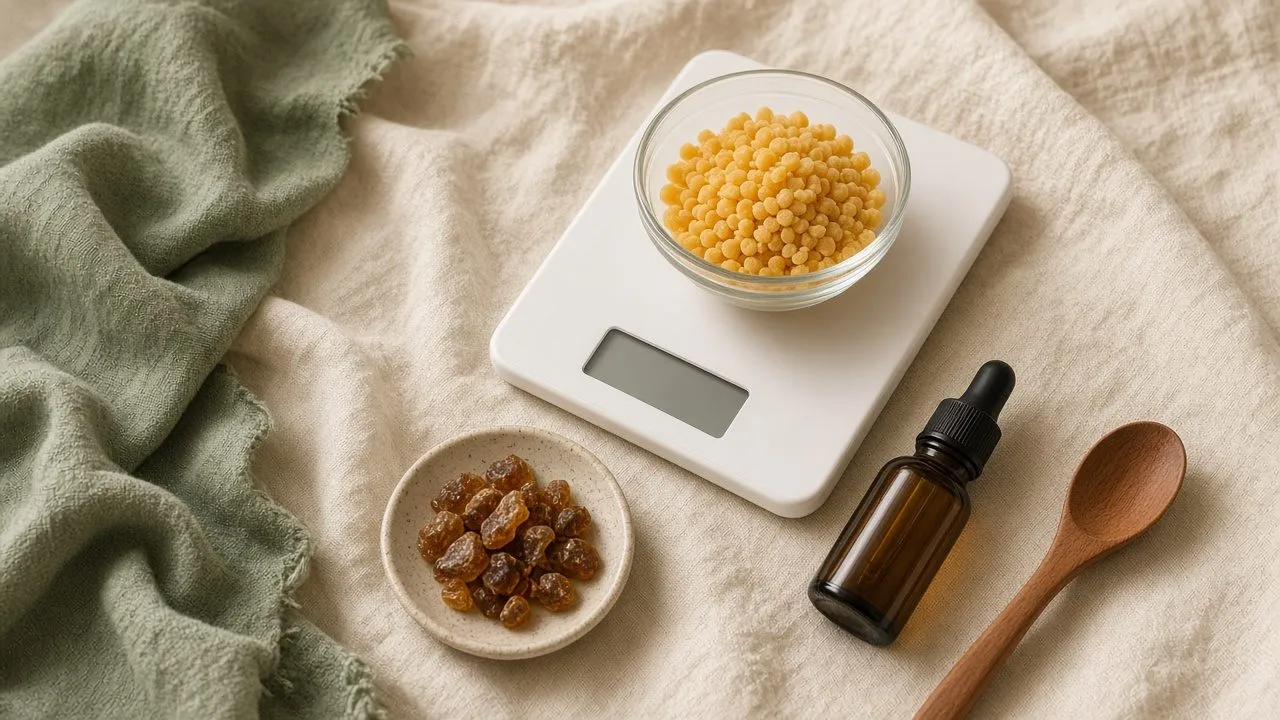
Buy 100 percent cotton with a tight weave. Skip blends, knits, and any cloth with a water-resistant finish. Wax needs to soak the fibers, not sit on a slick coating. Then pick beeswax pellets when you can.
Pellets melt faster than a block, and they measure easier. Choose wax with a food-contact label. Also, add jojoba oil so the finished sheet stays flexible in a cool kitchen. Add pine resin only if you want extra tack on bowl rims.
Resin grips better and also makes the wrap stiffer. Skip resin on batch one if pine already bothers your skin. Because resin can irritate skin, keep it optional.
Gather these before you turn on heat:
- Tight-weave 100 percent cotton, washed and dried.
- Beeswax pellets plus jojoba oil.
- Optional food-grade pine resin.
- Parchment, a rimmed sheet, and an oven or iron.
- A kitchen scale, clips, and a cooling rack.
Weigh with a scale, because spoons drift once wax and oil enter the bowl. Home scales vary, so weigh twice and trust the test square over the first number. With this kit, you can learn how to make beeswax wraps without a mid-job store run.
Check the Wax Label First
Read the label before you buy.
Also, compare package claims with our how to read organic labels before you buy wax. Then see the FDA food contact substances guide when a label mentions food contact. Overall, the label in your hand beats a guess from a package photo.
A Starter Beeswax Wraps Recipe in Grams
Start with weight, not a wild guess.
A common starter uses one part jojoba to four parts beeswax by weight. For more tack, add about one part pine resin for every four parts beeswax. This beeswax wraps recipe is a start, not the only correct formula. So write the grams down before you melt anything.
| Batch. | Beeswax. | Jojoba oil. | Pine resin, optional. | About eight-inch squares. |
|---|---|---|---|---|
| Test. | 20 g. | 5 g. | 0 to 5 g. | 1 square. |
| Beginner. | 80 g. | 20 g. | 0 to 20 g. | 6 to 8. |
| Family. | 160 g. | 40 g. | 0 to 40 g. | 12 to 16. |
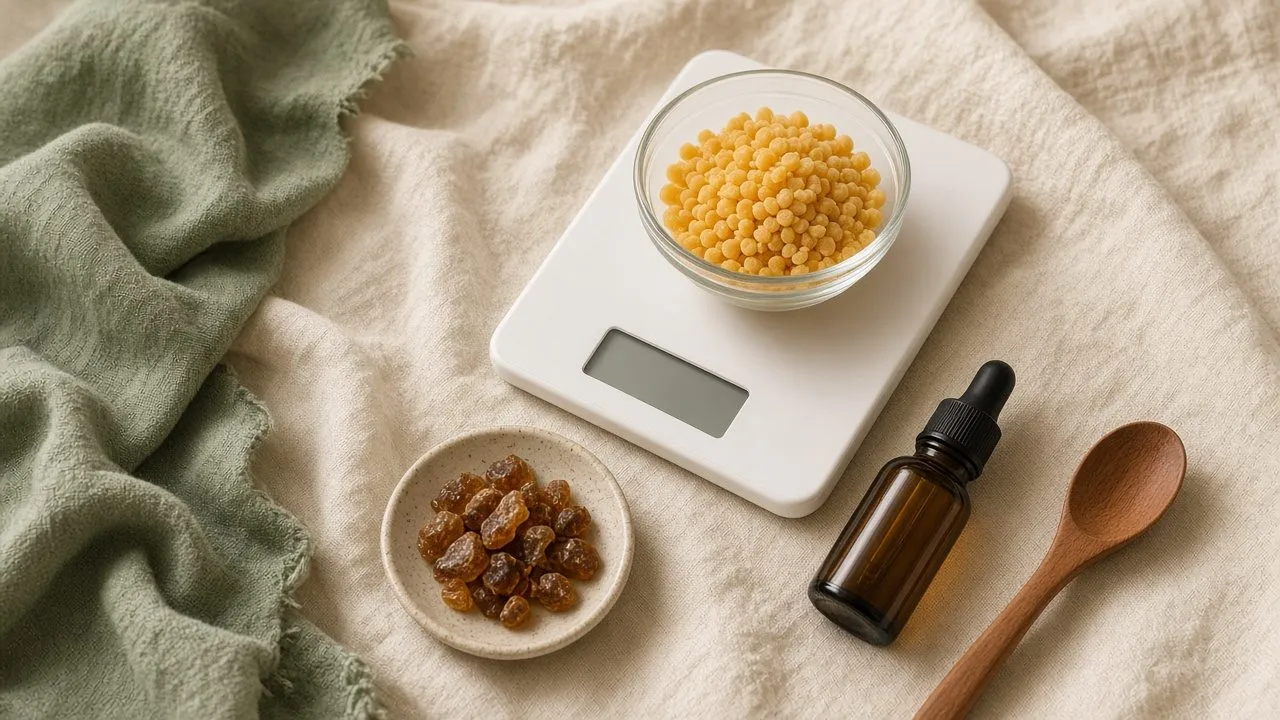
Twenty grams of wax plus five grams of jojoba coats about one square. The beginner row suits a first fall set for lunches and bowls. Save the family row until you like the feel of the test. Also, zero resin still covers cheese and bread for most kitchens.
Write the winning grams on a card in the wax tin. Then practice the method on that single test square. Your hands and a bread test get the final say, not a chart alone. Next, copy the winner instead of a fuzzy memory.
Wash, Dry, and Cut the Cotton
Pre-wash the fabric before you cut.
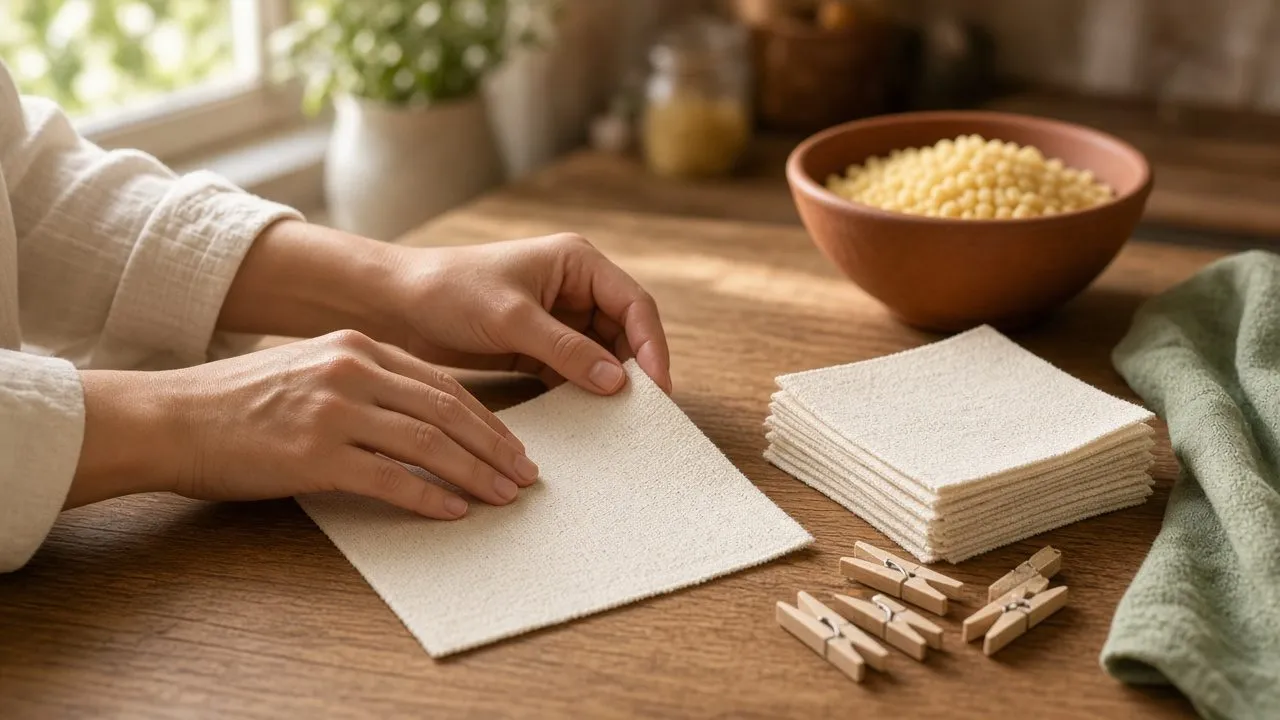
Wash the cotton in a normal cycle and dry it fully. Skip fabric softener, because it leaves a film that blocks wax. Iron the cloth flat if deep wrinkles will pool wax in the folds. Then cut squares for the foods you really pack this month.
Seven to eight inches covers a cheese wedge or a handful of apple slices. Ten to twelve inches covers a sandwich or a small bowl. Fourteen inches covers a loaf end or a large mixing bowl. Also, do not cut a square smaller than the rim of your favorite bowl.
Stack the squares by size and coat the test piece first. If a scrap melts oddly or pushes wax away, pull it out at once. Clean cotton is the quiet base for beeswax wraps that look even. Overall, clean cloth makes the coat easier to judge.
How to Make Beeswax Wraps in the Oven
Heat the oven low and stay close.
Set it to about 185 degrees F, or to the lowest setting that melts wax without smoke. Line a rimmed sheet with parchment and lay one cotton square on the paper. Sprinkle pellets in an even layer, then drizzle the jojoba across the cloth. Add a light resin dust only if your test plan calls for it.
Slide the sheet onto the middle rack and watch through the door. Pull the tray when the cloth looks wet, and tilt it so wax fills any dry spot. Stay beside the oven for those few minutes. These steps show how to make beeswax wraps with steady low heat.
Hang the square from clips, or leave it flat on clean parchment until the wax firms. It should feel flexible in your hands, not wet enough to drip. Stay at the oven the whole time, and keep wax away from any open flame. Also, keep kids and pets away from the hot tray and the cooling rack.
If you smell smoke, turn the heat off and air the kitchen. Never melt this wax in a microwave or over a bare burner. Soon you will make new wraps without a tutorial beside you. Then open a window if the smell turns sharp instead of mild.
Press With an Iron Instead
Use an iron when the oven is busy.
Lay parchment on an old towel you can spare. Set one square down and sprinkle a thin layer of the same mix. Cover the cloth with a second parchment sheet before any heat. Then press with a dry iron on a cotton setting, and use no steam at all.
Move the iron slowly until the wax melts and the fabric looks evenly wet. Add a little wax to any dry island, then press that spot again. Keep the iron moving so one corner does not scorch. Also, protect the iron with parchment so wax never hits the metal soleplate.
Let the square cool flat before you fold it or stack it on another. The iron path suits one repair better than a big first batch. You still make each wrap with the same ratio. Then open a window while you press so the mild wax smell can leave.
Stop if the cloth starts to brown or the wax smells harsh. Next, cool the square fully before you judge the tack.
Cool, Trim, and Check the Tack
Let every square set before you judge.
Cool the wraps flat or on clips so they do not fuse together. Warm wraps stick into one brick if the faces touch. Wait until the surface looks matte, then lift a corner and check. If wax still smears, give the square more time on the rack.
Trim loose threads so the edge stays neat. Fold the square over cool bread or around a cool bowl as your real test. The wrap should shape under hand heat and hold a light grip on the rim. Also, a good test bends without a crack and leaves no oily print on the bread.
If it fails, change one part of the mix before you copy it across the stack. That pause is part of making wraps without wasted cloth. Then test again on bread before you scale the batch. Overall, one change at a time keeps the lesson clear.
How to Clean Beeswax Wraps After Meals
Rinse each wrap with cool water only.
People ask how to clean beeswax wraps after cheese and apple days. The answer stays simple on purpose, and it protects the coat. Use cool water, a drop of mild dish soap, and a soft cloth. Then rinse the soap away, shake the square, and hang it to air dry.
Do not wring the cloth hard or twist wax out of the fibers. Hot water melts the coat and sends wax down the drain. A dishwasher will do the same and may bake the cloth crisp. Also, a microwave stays off limits, and a long soak in the sink does too.
Wash after sticky cheese or strong-smelling foods, not after every plain bread wrap. A dry bread wrap may need only a cool wipe between lunches. If a sour smell remains after drying, retire the square the same day. Soap cannot fix a smell that has moved deep into the fibers.
This is how to clean beeswax wraps without stripping the new coat you just made. Also, see the home food storage basics guide when leftovers need a real container. Wraps are not a substitute for safe storage of meat or hot food. So keep those foods in a box you can wash.
Troubleshoot Stiff, Greasy, or Patchy Wraps
Judge the cooled square, not the hot tray.
A stiff wrap usually carries too much wax or too little oil. Warm it between parchment sheets and blot the extra wax onto the paper. Next time, raise the jojoba a little inside your beeswax wraps recipe range. Also, do not pile extra wax on a sheet that already feels hard.
A cracked wrap often sat in the cold or aged on the folds. Re-wax it if the cloth still smells clean. A greasy wrap means too much oil or a thick pool. Then blot it between fresh parchment on a warm sheet, and cool it again.
If it still smears on bread, wash it and plan a lighter coat. Patchy color means dry spots, so return that square to low heat. Push wax into the pale areas until the color evens out. Also, cold fingers make even a good wrap feel dull on a bowl.
Fix one variable at a time, and do not pile three changes onto one square. That habit shows you how to make wraps with a mix you can repeat. A stiff square and a greasy square need opposite fixes, not one shared cure. Overall, name the problem before you add more heat.
Re-Wax, Store, and Retire on Purpose
Plan on months of use, not forever.
With regular lunches, a solid wrap stays useful for several months, then needs help. Fold lines crack, the coat wears thin, and pale spots show up. Those signs call for a re-wax, not a failed project. Then sprinkle a light new coat and repeat the oven steps or the iron steps.
Stop while the fabric still bends easily in your hand. Watch for these wear signs before you toss a clean wrap:
- Cracks along the fold lines.
- Thin pale patches in the coat.
- A weak grip on a cool bowl.
Store wraps in a cool drawer, away from the stove, the sun, and the dishwasher heat. Roll them or fold them loosely so air can move between layers. A hot cabinet will fuse the whole stack into one block. Also, retire a wrap when it smells off, shows mold, or stays cracked after a fresh coat.
If your town will not compost waxed cloth, trash the square. Do not keep a sour wrap just to feel thrifty. A retired square still taught you something useful. So keep the card with your grams and the note about resin.
Replace the cloth and carry the same ratio forward. Overall, months of use is a fair hope, not a lifetime promise.
Size a Fall Harvest Wrap Set
Match each square to real food.
Cut two or three eight-inch squares for cheese wedges and apple slices. Cut two ten-inch squares for sandwiches you pack on busy mornings. Cut one or two fourteen-inch squares for bread and for cooled bowls after dinner. Then use a large wrap only after the food cools to room temperature.
Warm stew will melt wax onto the rim and into the top bite. For a cheese board, wrap the leftover wedge and keep the crackers in a tin. For apples, pat the cut face dry so juice does not sit in the cloth. Also, pair sandwich squares with our healthy breakfast ideas for mornings.
This size plan turns wrap making into a weekly system, not a drawer craft. Count what you reached for over two real weeks of meals. Then cut the next batch to match that use. Overall, a fall kitchen rewards the sizes your hands grab every day.
Run Next Month From This First Batch
Keep the winner and copy those grams.
Write the best mix on a card inside your wax tin. Cut the next cotton to the sizes you actually used. If bowl covers did the work, make more large squares. Also, replace a square when it stays tired after a fresh coat.
That rhythm makes beeswax wraps part of a normal fall month. Use the card the next time you learn how to make beeswax wraps. You still need real containers for raw meat, hot soup, and the freezer. Wraps are a kitchen tool, not a health product.
They do not make food safer, and they do not treat any health issue. Do not use them on raw meat or on hot food. Wash only in cool water with mild soap, and keep each rinse short. Then replace a wrap when it cracks deeply, smells off, or will not hold after a new coat.
How to Make Beeswax Wraps FAQ
Use these short answers at the counter.
What beginner ratio should I mix?
Keep four parts wax to one part jojoba. That split anchors this beeswax wraps recipe for a first tray. Then test 20 grams of wax and 5 grams of jojoba before you scale.
Should I use the oven or an iron?
Use the oven for your first full batch. Use the iron for one repair when dinner fills the oven. Either path works well if the coat stays even.
Why does my wrap feel wrong?
Name the problem before you add more heat. Stiff means extra wax, and greasy means extra oil. Patchy means a dry spot, and weak grip means a thin coat or cold hands. Then fix one cause and test the square on bread.
How to clean beeswax wraps without damage?
Stay with cool water and mild soap. Skip hot water, the dishwasher, and the microwave. Then air dry the wrap, and retire it if a sour smell remains.
When do I re-wax instead of tossing?
Re-wax a wrap that is clean but worn. Toss it if it smells sour, shows mold, or still fails after a new coat. Several months of use is a fair hope, not a lifetime promise.
What foods should I never wrap?
Keep raw meat and hot food away. Skip raw fish, raw poultry, and any bowl that still steams. Use wraps for cool bread, cheese, sandwiches, and dry produce only.
You may also like
Mushroom Coffee: Is It Worth It? Taste, Caffeine & Labels
Mushroom coffee mixes beans with lion's mane, chaga, reishi, or cordyceps. Compare taste, caffeine, organic labels, and…